GROWING HAS NEVER BEEN EASIER
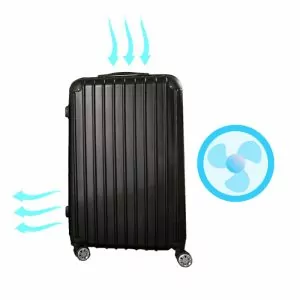
WITH INTEGRATED VENTILATION
WITH LED PLANT LAMP
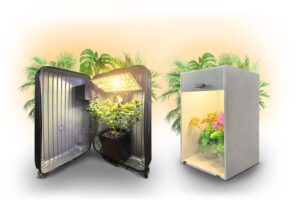
All-in-one complete solution Mini Grow Box
Compact, inconspicuous and quiet
Step 1:
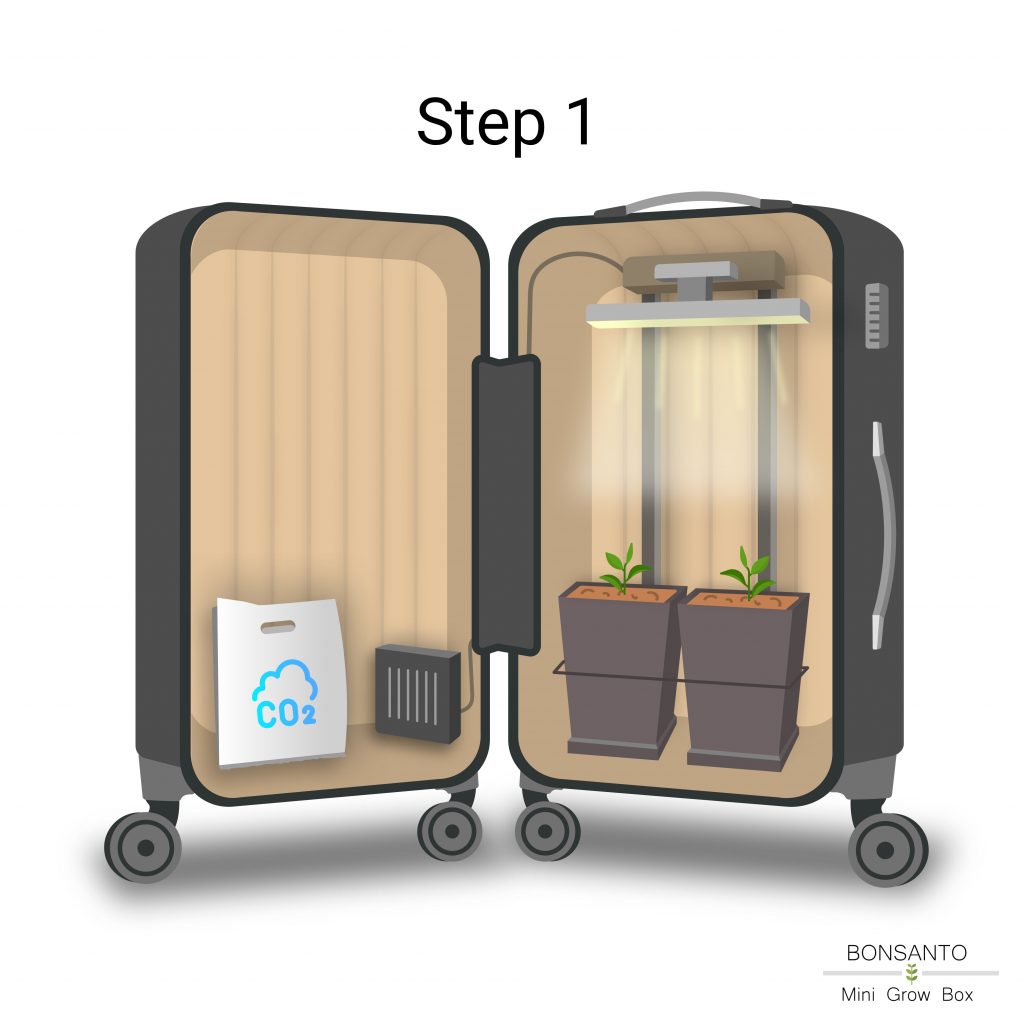
Fill the pots with pre-fertilized, organic bonsanto soil and water them with 300-400 ml of water per 3.2-liter pot. The soil should be well-moistened so that the organisms can become active. Plant the seed no more than 8 mm deep into the soil. Lightly cover the seed with the moist soil. Stretch cling film over the pot and pierce some holes in it, using a toothpick for instance. Leave the activated carbon filter and the internal fan off for the first 3 weeks. Open the grow box daily to let in fresh air.
Step 2:
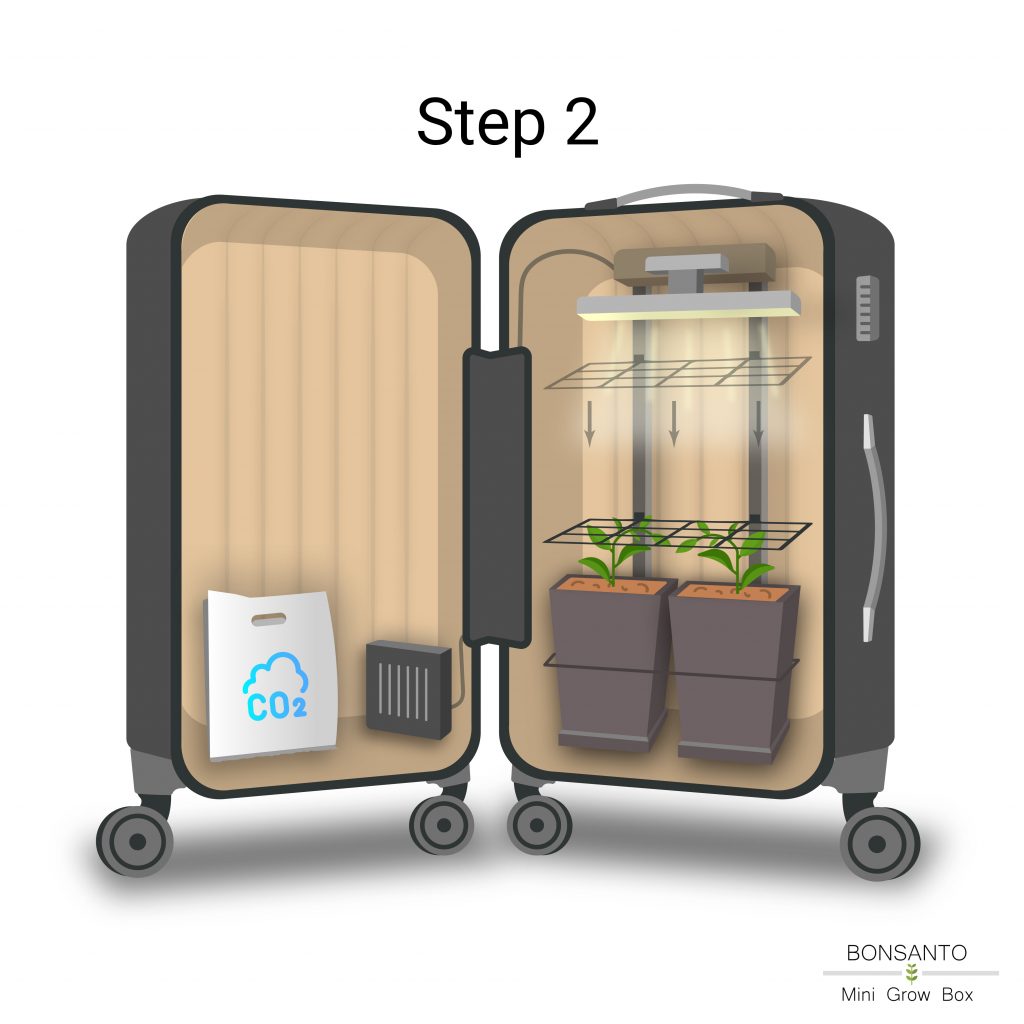
Turn on the LED light 24 hours a day. When the first seedlings appear, remove the cling film. After day 14: Reduce the lighting time to 18 hours per day. Water the plants the first time after germination after 14 days. Only when the top layer of soil (10 cm) is dust dry, you should water again. Check with your finger if this layer is very moist; if it is, do not water. However, if it feels very dry (almost dusty), then water. Be careful that the water does not run down the edge, which can happen if the soil is very dry. In this case, watering should be done slowly. Put in a dry spell now and then to strengthen the root system. Watering rules are only rough recommendations – always observe the reaction of the plant.
Initiate the flowering phase of the plant by the 3rd week with a lighting duration of 12 hours. (Note: Autoflowering plants can continue to be illuminated for 18 hours). Keep the activated carbon filter running continuously from week 3. The internal fan should operate on a cycle (1 hour on, 1 hour off) from the 28th day after germination. From the 10th week onwards, you can keep the internal fan running continuously.
Step 3:
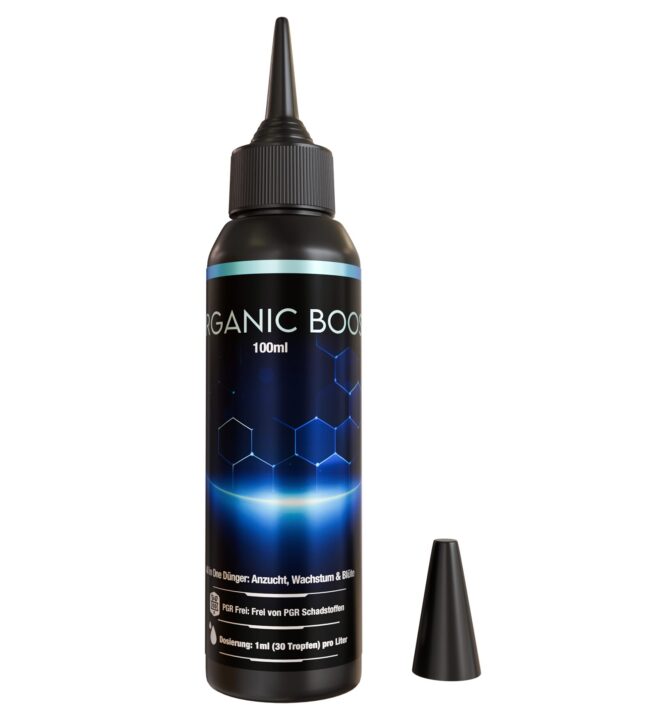
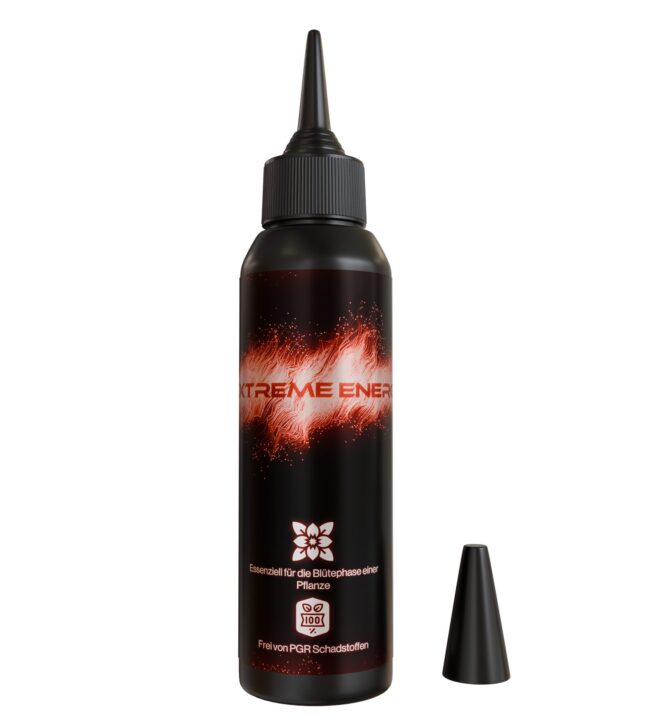
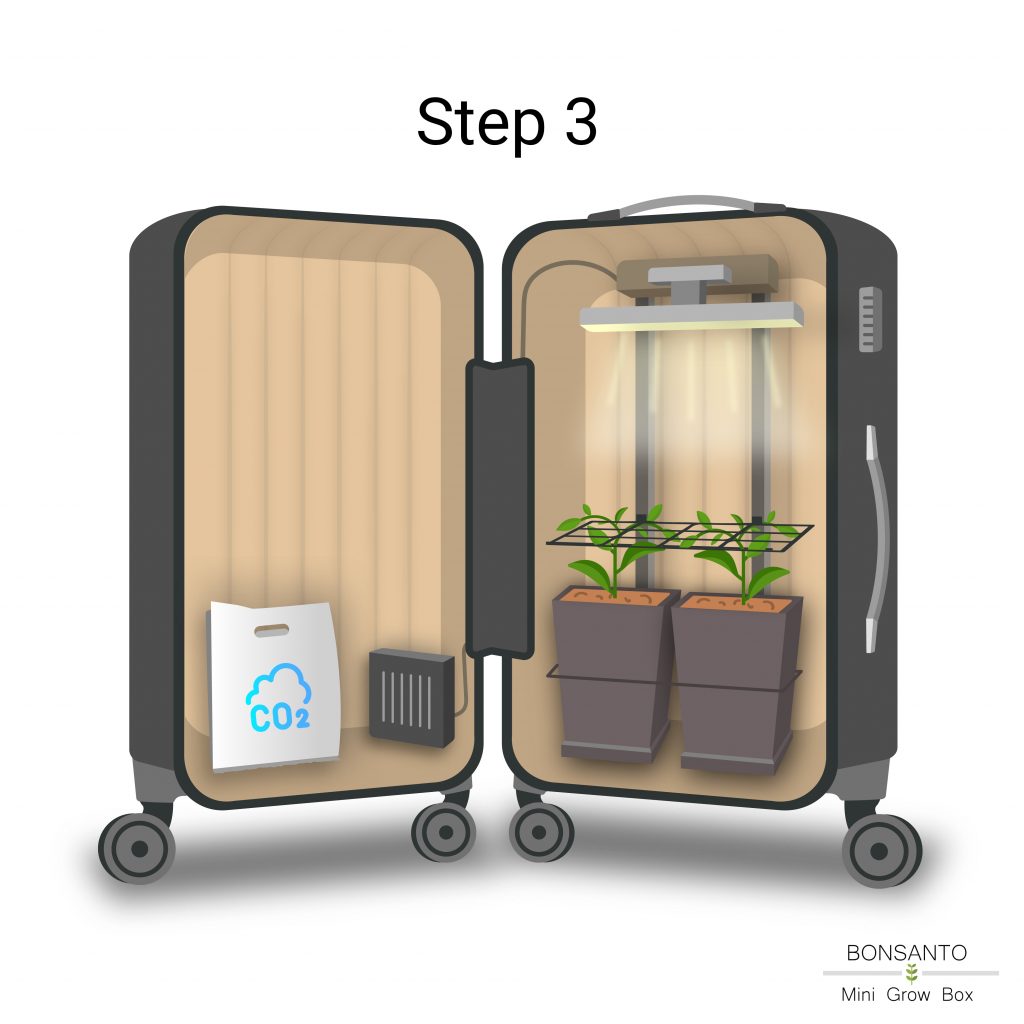
Start fertilizing from week 2 after germination. The dosage recommendation is: 20 drops per 1 liter of Organic Boost. Extreme Energy should be used from week 5. The dosage recommendation here is 20 drops per 1 liter. Both fertilizers can be mixed.
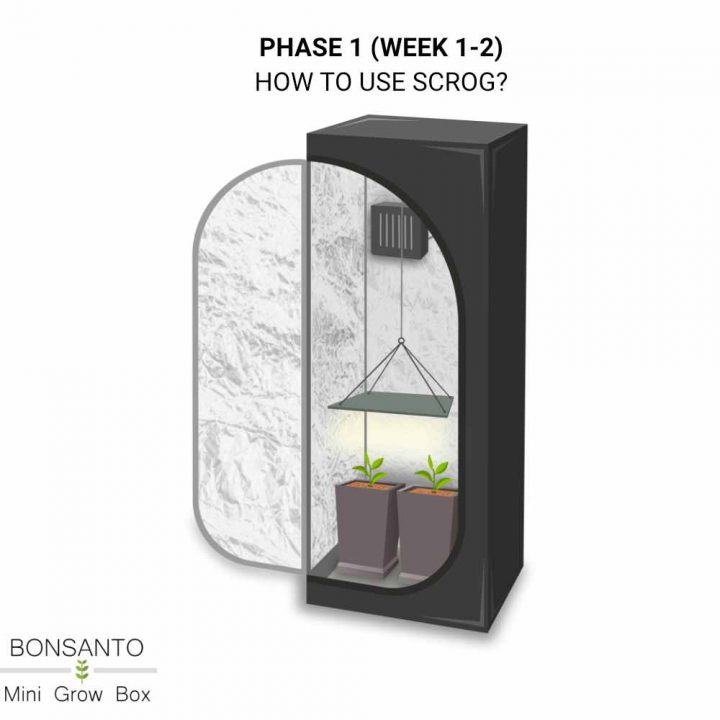
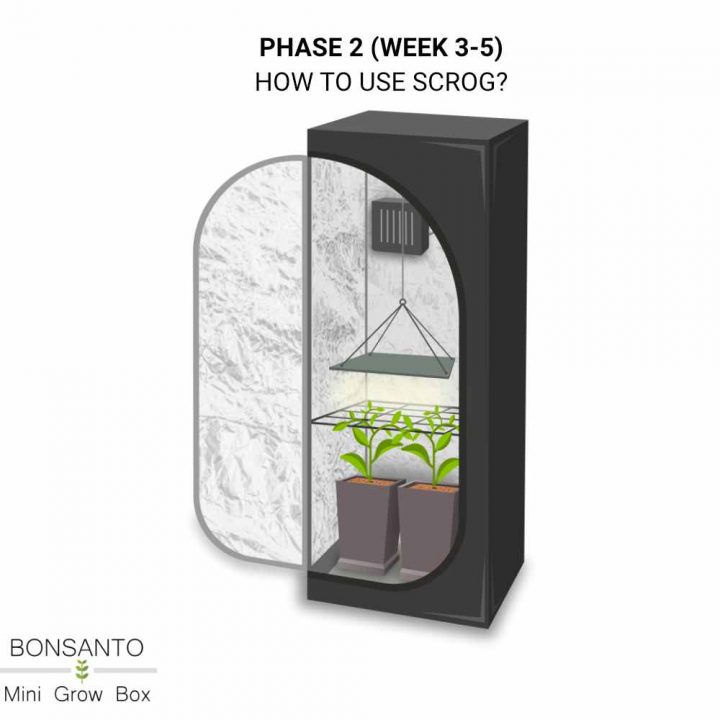
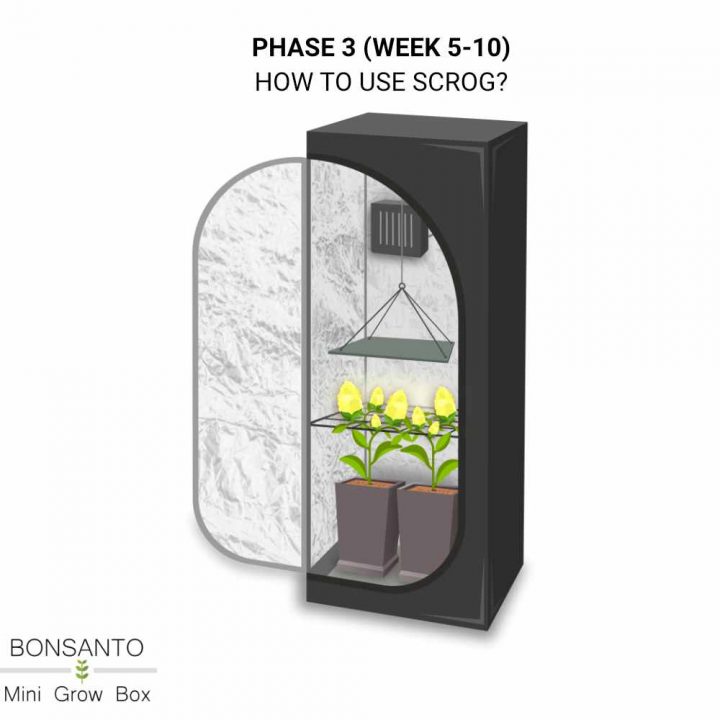
How can I manage to grow a 1.8m tall plant in a suitcase?
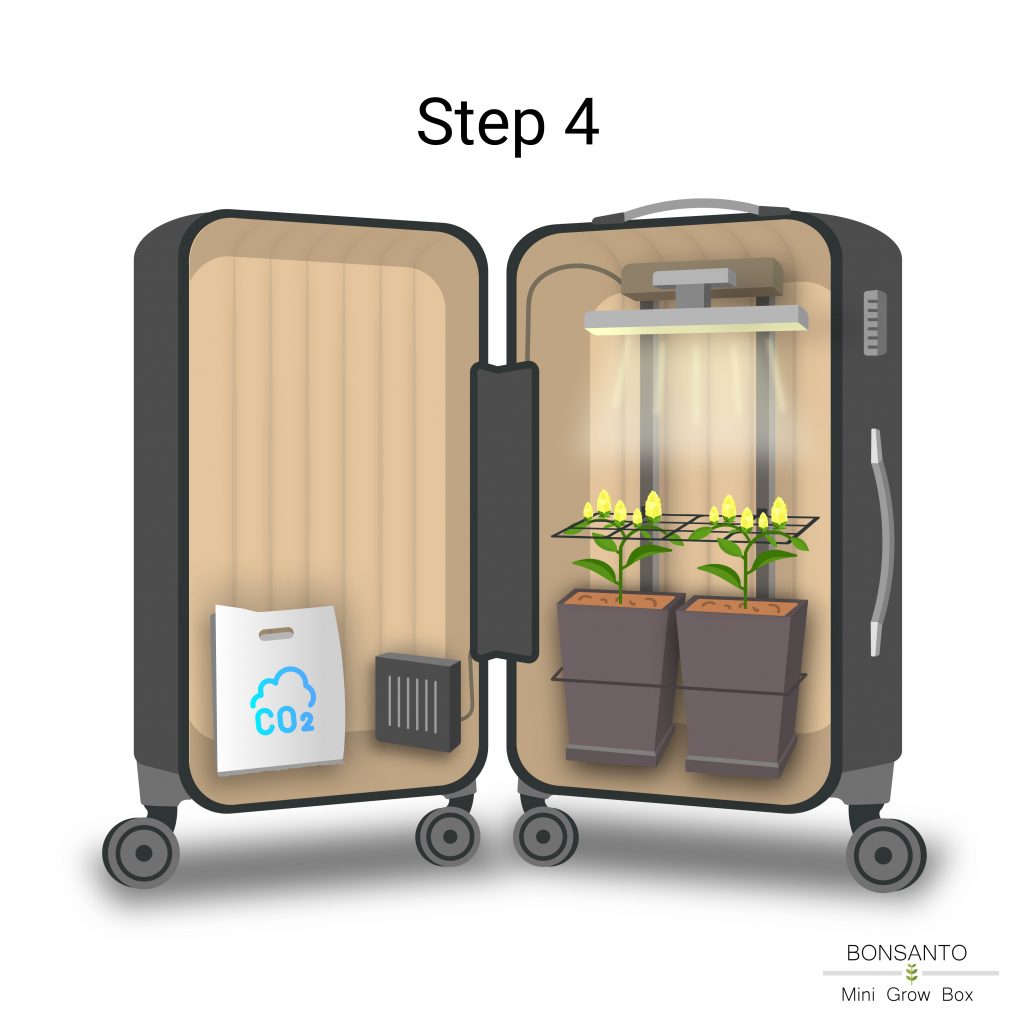
Here’s how: Carefully bend your plants under the SCROG grid so that the plants are limited to a maximum height. Almost all the strands of the plant should be limited in height by the SCROG grid. The SCROG grid limits the plant in height during the growing phase. So you can also conveniently do low-stress training.
SCROG IN SUITCASE:
SCROG IN TENT :
Step 4:
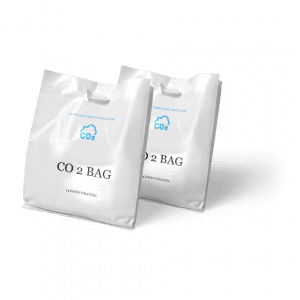
Place the Bonsanto CO2 Bags in the box from week 3-4. The growth of your plants will be accelerated by additional CO2 addition. Before you hang up the CO2 bag, fill the bag with 1/3 water. Important: The water must be warm (but not hot!) when you fill the bag, so that the contained substances can react with each other. Additionally you have to knead the bag a little bit (approx. 30 sec.), so that the content combines well with the water. Afterwards, simply hang the CO2 bag on the hook in the case (marked). The CO2 Bag can be used from this point on during the entire cultivation phase. The CO2 bag should be replaced every 14 days. Please refill the pots with new soil over time, as it also has important PH neutralizing properties.
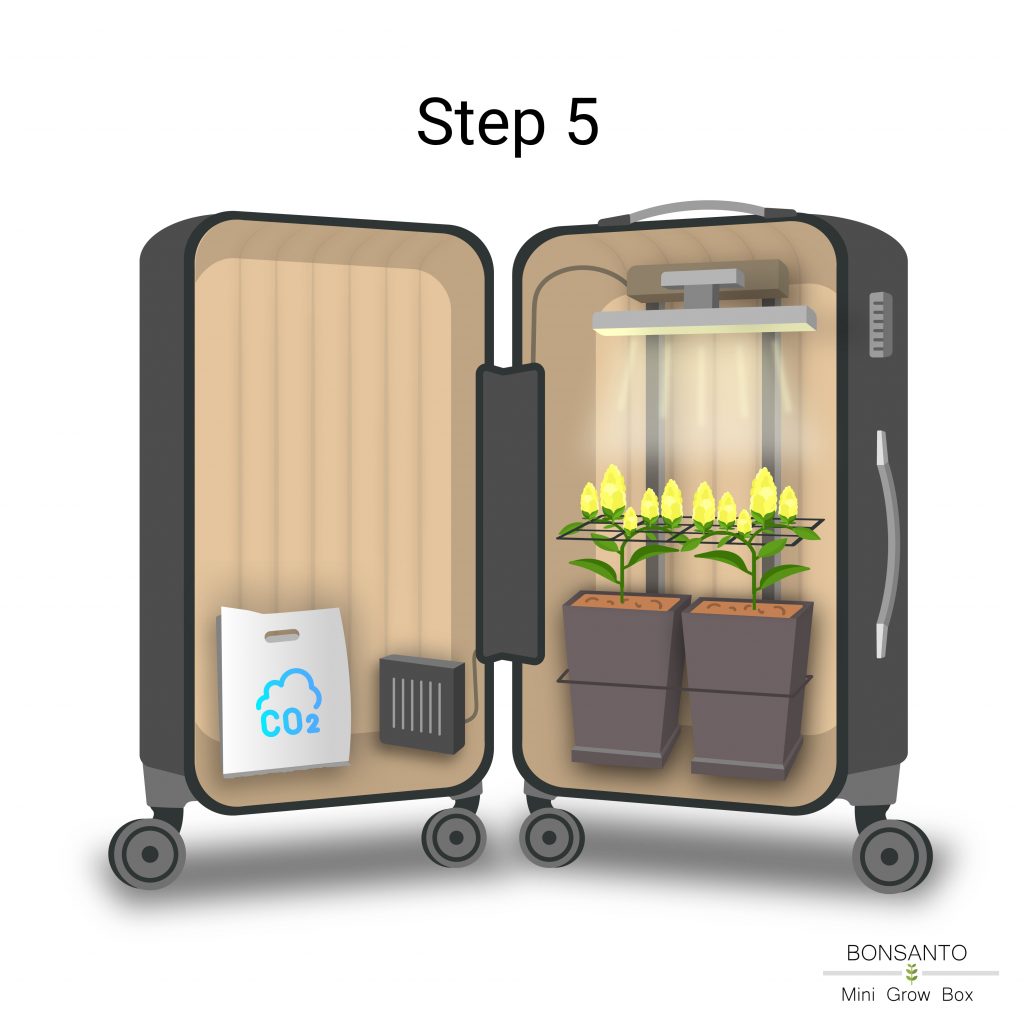
Step 5:
After 8-12 weeks your plant should have beautiful buds. Important tip: Do not run the interior fan during drying. The drying process must take place slowly. Cut the plant at the bottom of the main stem and let the plant dry with all leaves for 2 weeks without the indoor fan, but with the activated carbon filter running. You can also use the Bonsanto drying case . This will save you valuable time and you can start your next grow right away. When the plant has dried on the stem for 2 weeks, remove all leaves from your plant and expose the buds. Dry your crop with Boveda Packs in the appropriate jars. In the Bonsanto Grow Box. Again, the activated carbon filter will help you avoid any odors.
