Would you like to grow easily and save time? Then autoflowering plants are just right for you! In our autoflowering guide, we explain step by step the best way to grow your autoflower in the Mini Grow Box and when it’s time to harvest. With the help of our autoflowering guide, nothing should stand in the way of your grow!
Nevertheless, we would like to point out that we generally recommend feminized seeds for growing in a Bonsanto Mini Grow Box. There is a simple reason for this: you can achieve better results with feminized seeds than with autoflowers.
You can find out everything you need to know about autoflowering in our autoflowering guide. If you are using one of our Bonsanto Mini Grow Boxes for your grow, please also refer to our general growing instructions. The advantage of using our grow box and Bonsanto components is that you do not need a PH meter, EC meter, temperature or humidity meter. This allows you to grow with ease.
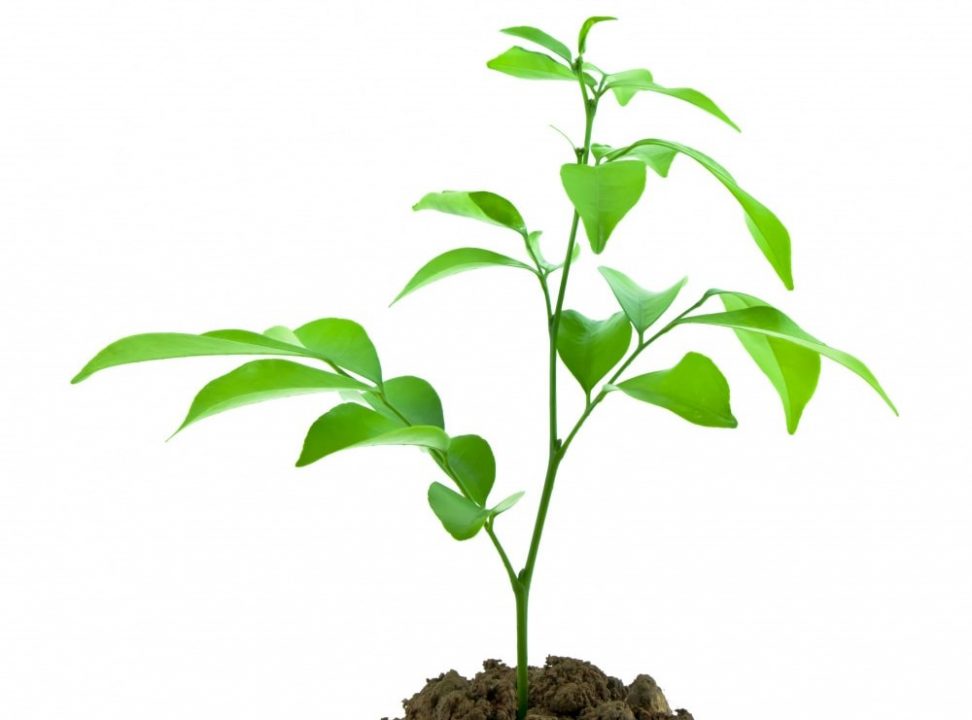
Unlike other plants, autoflowering strains start to flower automatically, as the flowering phase does not depend on a specific light cycle. In most cases, autoflowering plants start flowering after just two to four weeks. This is why it is particularly popular with novice growers, but advanced growers also like to use autoflowering seeds because of their uncomplicated cultivation. Would you like to find out the best way to grow autoflowering plants? Then stay tuned and read our autoflowering guide!
Lighting plan for cultivation in the Mini Grow Box
Even though autoflowering strains have the advantage that their flowering phase does not depend on a light cycle, there are a few things to consider when choosing a grow light and exposure time. In our autoflowering guide, we recommend a full-spectrum LED plant lamp, as this not only saves electricity costs, but is also suitable for both the flowering phase and the growth phase of a plant. This means you don’t have to change the bulb! An exposure time of 18 – 24 hours is recommended for autoflowering plants. For energy-saving reasons, many growers opt for an 18-hour exposure phase.
The right soil for your grow
For autoflowering cultivation, a soil should be used that is food-safe and pre-fertilized. You can find suitable soil in numerous grow stores. Our Bonsanto Premium soil is 100% natural and is not only pre-fertilized, but also contains perlite, which ensures that the soil dries quickly and thus promotes the oxygen supply to your plant. The PH value of the soil is also regulated so that the soil is ideal for growing your autoflower. When growing autoflowers, the soil should ideally have a pH value of 6.0 – 6.5, which means that the soil is slightly acidic. As the soil is already pre-fertilized and autoflowering strains have a lower nutrient requirement than other plant species, you do not need to provide the plant with additional fertilizer in the first few weeks of growth, which are listed in our autoflowering instructions. You can read more about choosing the right soil for your autoflower in our blog article “Soil for autoflowers”.
Of course, for every single week listed in our autoflowering guide, check the leaves of the plant for pest and mold infestation to ensure the health of your plant. As mentioned at the beginning of the autoflowering guide, you don’t have to worry about changing lamps, as the Bonsanto Mini Grow Box contains a full-spectrum LED plant lamp. The air supply required for autoflowering cultivation is also provided in the Mini Grow Box by a USB fan.
You can find out everything you need to know about fertilizing and adding CO2 bags in our Bonsanto guide.
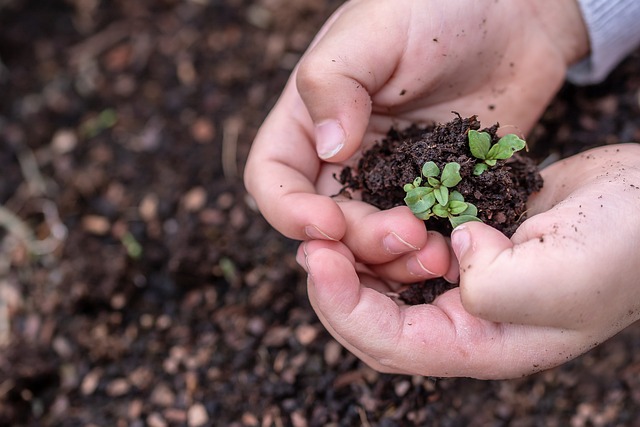
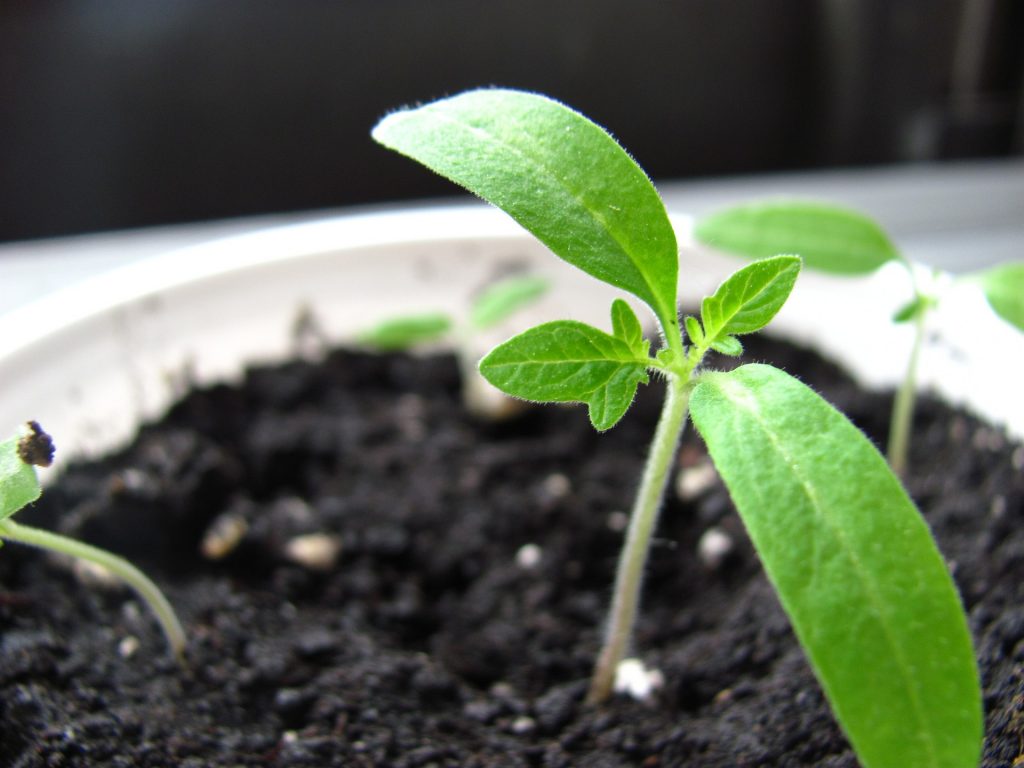
Fill the pot of the Mini Grow Box with Bonsanto Premium soil and water the soil with approx. 800-900 ml of water. The seeds should be placed a maximum of 5 mm deep in the soil. The autoflower should remain in this pot until harvest. We do not recommend repotting autoflowering plants to avoid damaging the plant’s roots. The planted seeds will start to germinate after 1 to 3 days. Your autoflower will develop roots and the first cotyledons will become visible. Be careful not to overwater or underwater your seedlings, especially at this stage. Overwatering can lead to rotting roots and can hinder the nutrient uptake of your plant. If you use pre-fertilized soil, you should not add any additional fertilizer during the germination phase, as autoflowers have low nutrient requirements. We explain how to germinate seeds in more detail here in our blog.
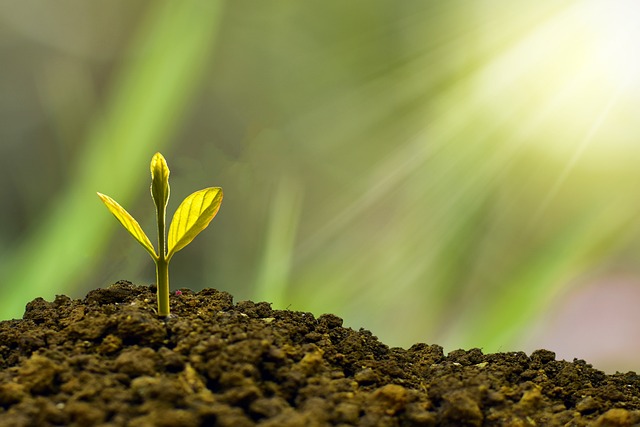
Week 2 - end of the seedling phase
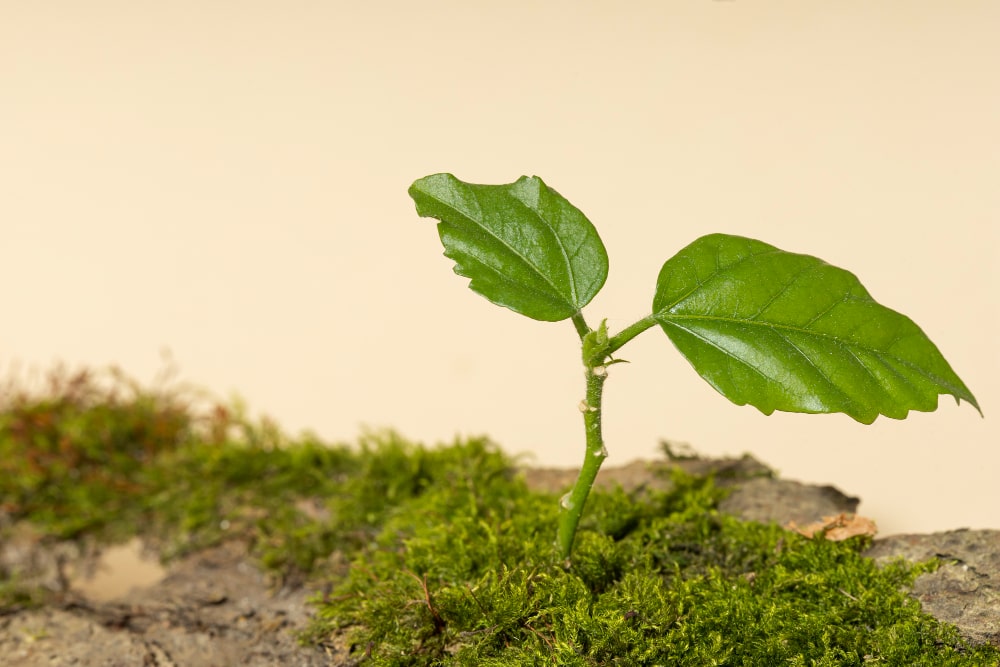
You can tell that your autoflower is in the vegetative growth phase by the fact that your plant has already developed its first leaves. In this phase, you can support the vegetative growth of your autoflower with additional fertilizers, such as the Organic Boost fertilizer. But here too, only half of the normal fertilizer guideline should be used. Only water your plant when the soil is almost dry to prevent overwatering. We also recommend watering slowly to prevent salt build-up in the soil. You can find out more about correct watering here.
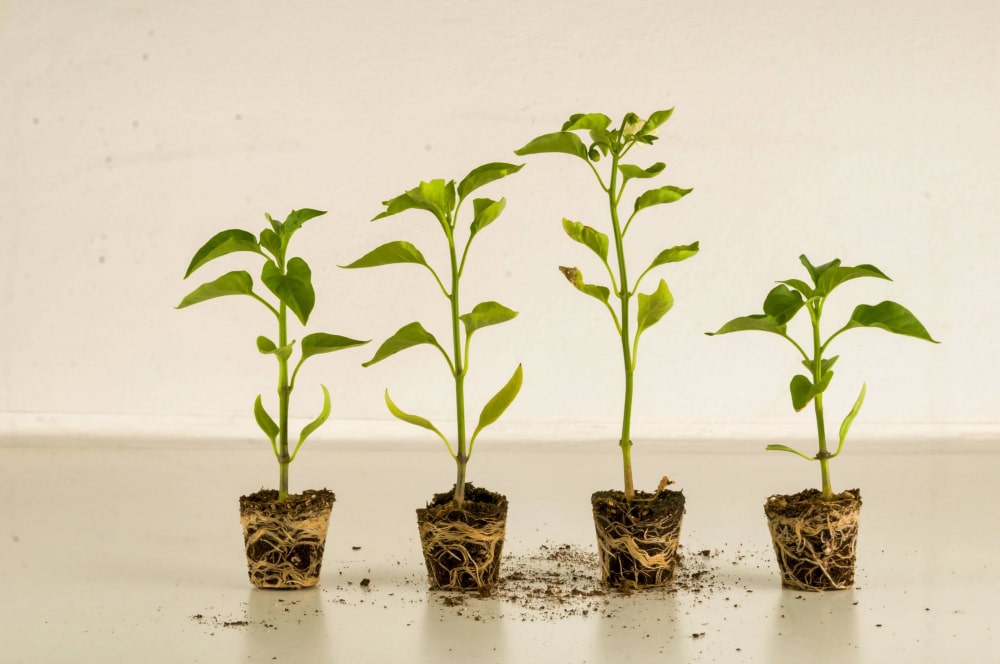
Week 3 - Growth phase
During this phase, your autoflower will grow rapidly and new leaves will form. As soon as your plant has more than three accounts, you can start training the autoflower using a low-stress technique. This is a method that promotes lateral plant growth and is very suitable for autoflower cultivation. It involves tying the main stem and branches of the plant downwards. You can use the cable ties supplied with the Mini Grow Box for this. This training will produce more flowers and a higher-yielding harvest. Do not use topping or fimming techniques, as these training methods are not suitable for autoflowering plants.
Week 4 & 5 - Flowering phase
If you follow our autoflowering instructions, your plant will normally be close to flowering in week 4. If you can already see pre-flowering, stop the low-stress training so as not to stress your autoflower.
If you like to use the ScrOG method for your grows, you can of course also use it for autoflowering cultivation. You can find out exactly what the ScrOG method is here in our blog article. When growing autoflowers, the application of scrogging is somewhat more complicated than with other plant species, as there is no separate vegetation and flowering phase. We recommend using the matching ScrOG grid for the Mini Grow Box and attaching it as soon as the first flowers or buds of your autoflower are visible. Place the ScrOG grid about 7-15 cm above your autoflower. As soon as your plant reaches the grid, you can start weaving the individual branches through the sections of the ScrOG grid so that your plant can grow in width.
You can recognize the flowering phase of autoflowering cultivation by the white hairs that appear on your plant and turn into sticky flowers. Now your plant needs more nutrients and requires more water.
Week 6 - 8 Broad growth & resinous flowers
If you have any questions regarding the correct fermentation of your harvest, please feel free to contact us. You can find all information about growing in the Bonsanto grow box in our instructions.
In week 6 of autoflowering cultivation, your plant will begin to expand in width and an even canopy of leaves will form. Now you can observe how the buds of your plant grow larger. For optimal autoflowering growing conditions, the temperature in your grow box should be between 18 and 24 degrees Celsius in week 7.
In week 8, you are slowly approaching the time of harvest. Your buds should now look fuller and resinous. If this is not yet the case, don’t stress! Then simply treat your autoflower as you did in week seven. If the smell of your plant is now very strong, use an activated charcoal filter to neutralize the smell.
Week 9 - Shortly before the harvest
The time has come when the leaves of your autoflower turn yellowish. This means that the harvest is imminent. With a magnifying glass, you can start observing the flowers of your autoflower to see when the plant is ready for harvest.
Week 10 - Time to rinse
To remove salt deposits in the soil and improve the flavor of your buds, start giving your autoflowering plant plenty of water in week 10. This is called “flushing”. We recommend flushing the plant for around two to three days before you can start harvesting.
Autoflowering when to harvest?
We are coming to the end of the autoflowering guide and now answer one of the most exciting questions: When will your plant be ready for harvest? As mentioned at the beginning of the autoflowering guide, a big advantage of the autoflowering plant is a quick harvest. The plants are ready for harvest just 8 to 12 weeks after cultivation. Exactly when the plant can be harvested depends on your autoflowering strain. In our autoflowering guide, we assume an average of ten weeks. You can tell when you should start harvesting by looking at the flowers on your plant. There are so-called trichomes on the flowers. The best way to examine them is with a magnifying glass. If some of these trichomes are white and the others are amber-colored, your autoflower is ready for harvest. The more trichomes are amber-colored, the more soothing the effect of your buds will be. Most people start harvesting when around 60-70% of the trichomes are amber in color. If you prefer a psychoactive effect, you can of course start harvesting earlier! If the buds at the bottom are not yet ready and need a little more time, the autoflower can also be harvested one after the other. We recommend using clean and sterile scissors for harvesting.
Any questions about the autoflowering guide?
Do you have any further questions about autoflowering cultivation that we were unable to answer in our autoflowering guide? Then feel free to contact us! If you are using a Bonsanto grow box, please also read our Bonsanto growing instructions.